Installing the Datadog Agent on a Raspberry Pi
Introduction
I've had a Raspberry Pi knocking around for a while and figured it was time to point a Datadog Agent at it. This post walks through what I did, from flashing the OS to seeing the host show up in Datadog. Once it's running, you've got CPU, memory, disk, and network metrics on tap, plus the usual hooks for monitors and dashboards.
Step 1: Preparing the Raspberry Pi
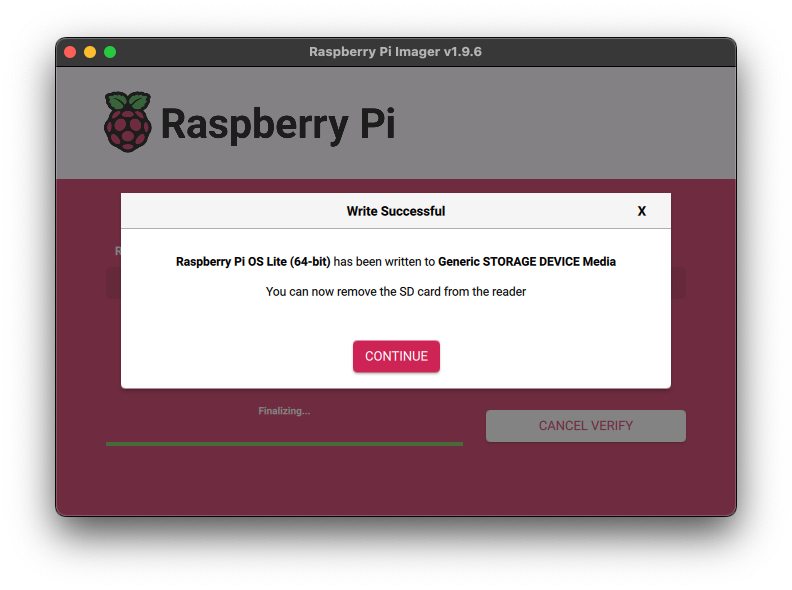
First, flash a MicroSD card with a 64-bit version of Raspberry Pi OS. The Datadog Agent needs a 64-bit operating system, so this matters. The official Raspberry Pi Imager makes this painless. Pick a "headless" or "lite" image without a desktop environment so you're not wasting Pi resources on a GUI you'll never see.
Step 2: Discovering the Raspberry Pi's IP Address
With the Raspberry Pi booted, the next task is to identify its IP address on your local network for SSH access. A reliable method for this is to use the Address Resolution Protocol (ARP) cache on another machine on the same network. You can scan your network for the Raspberry Pi's MAC address, which typically starts with b8:27:eb for Raspberry Pi 3 models. Note that this prefix can vary for other models.
Execute the following command in your terminal:
arp -na | grep -i b8:27:eb
This command lists the ARP table and filters for entries containing the Raspberry Pi's MAC address prefix.

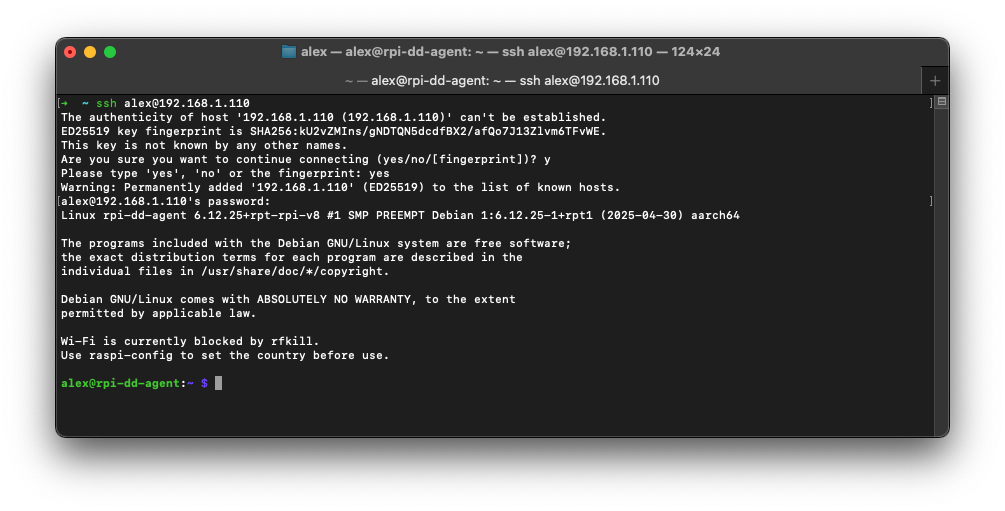
Once you've identified the IP address, you can establish an SSH connection to the Raspberry Pi.
Step 3: Installing the Datadog Agent
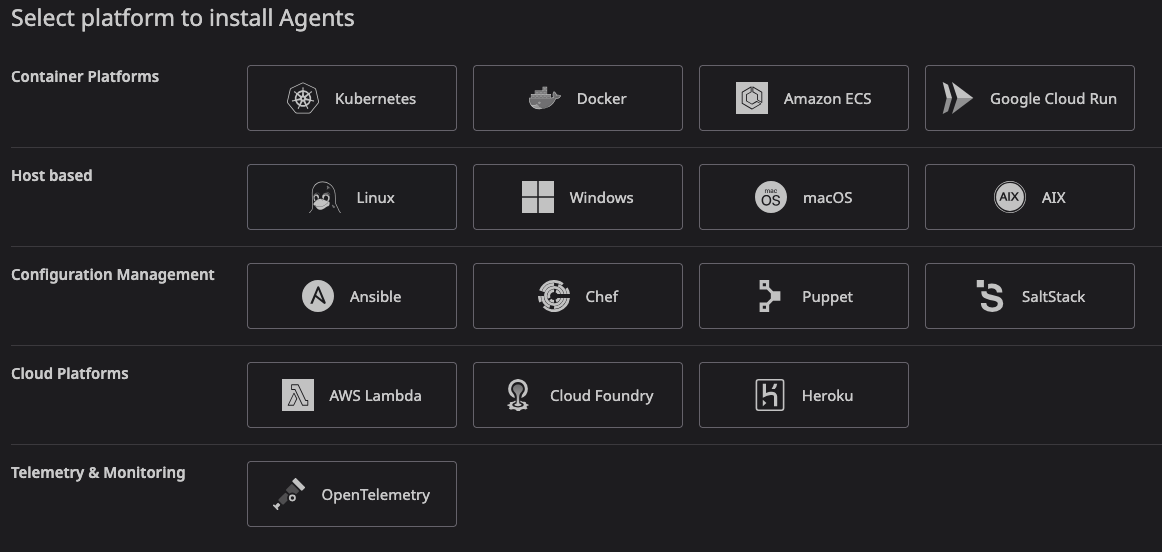
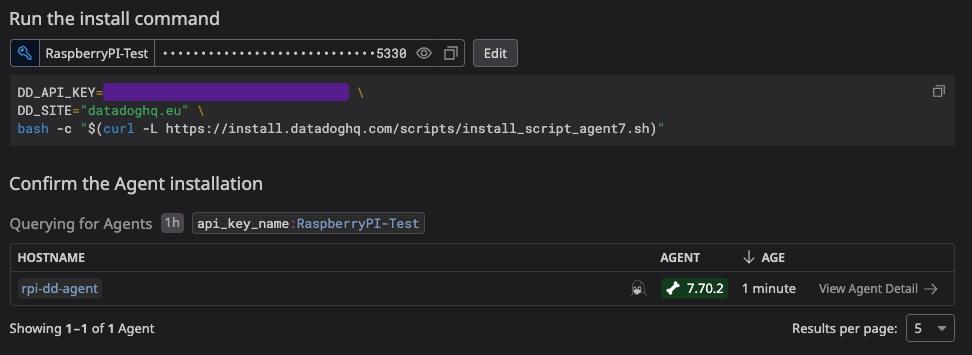
With SSH access established, you can proceed with the Datadog Agent installation. Log in to your Datadog account, and navigate to the "Agent" installation section. From the platform options, select "Linux".
Datadog will provide a one-line installation command. This command downloads and executes a shell script that handles the entire installation process, including adding the Datadog repository, importing the GPG key, and installing the agent package.
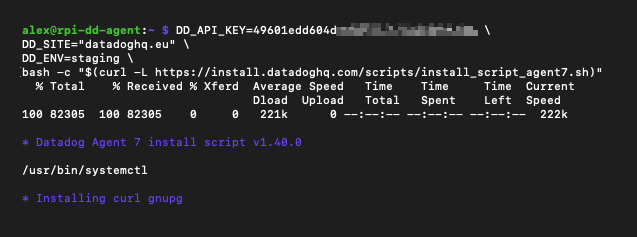
The installation may take several minutes to complete.
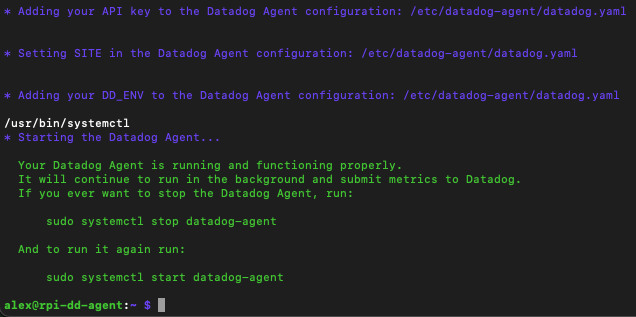
Step 4: Verifying the Installation
After the installation script finishes, the Datadog Agent should be running and reporting data to your Datadog account. To verify this, navigate to "Fleet Automation > View Agents" or directly to https://app.datadoghq.eu/fleet. You should see your Raspberry Pi listed as a new agent.
Conclusion
That's it. The Pi is now reporting into Datadog and you can build dashboards or monitors against it like any other host. Useful if you're running anything resembling production on a Pi (Home Assistant, Pi-hole, a small home server), and a fun way to get more familiar with the Agent on lower-powered hardware.